
When I add up all of the time I’ve spent nursing and feeding and pumping for my babies, it would be…. a lot of time! It’s the best and one of the hardest jobs and when you add in the logistics of figuring out what to do when you’re away from your baby or flying on airplanes, it can feel impossible. I’ve taken a handful of work trips away from my nursing babes and have learned a few tricks of the trade that have made traveling with breast milk a lot less daunting!
With my firstborn, I had an oversupply and so I was able to stock up my freezer pretty quickly which meant that most of the time when I traveled, I would just pump and dump the milk instead of trying to fly it back, but with my second baby, it’s been a whole new ballgame. We discovered my milk has high lipase which is an enzyme found in breast milk and can impact the smell and taste of the milk after it’s frozen. Essentially the lipase can make milk smell metallic or even soapy and so this discovery has complicated our pumping journey.
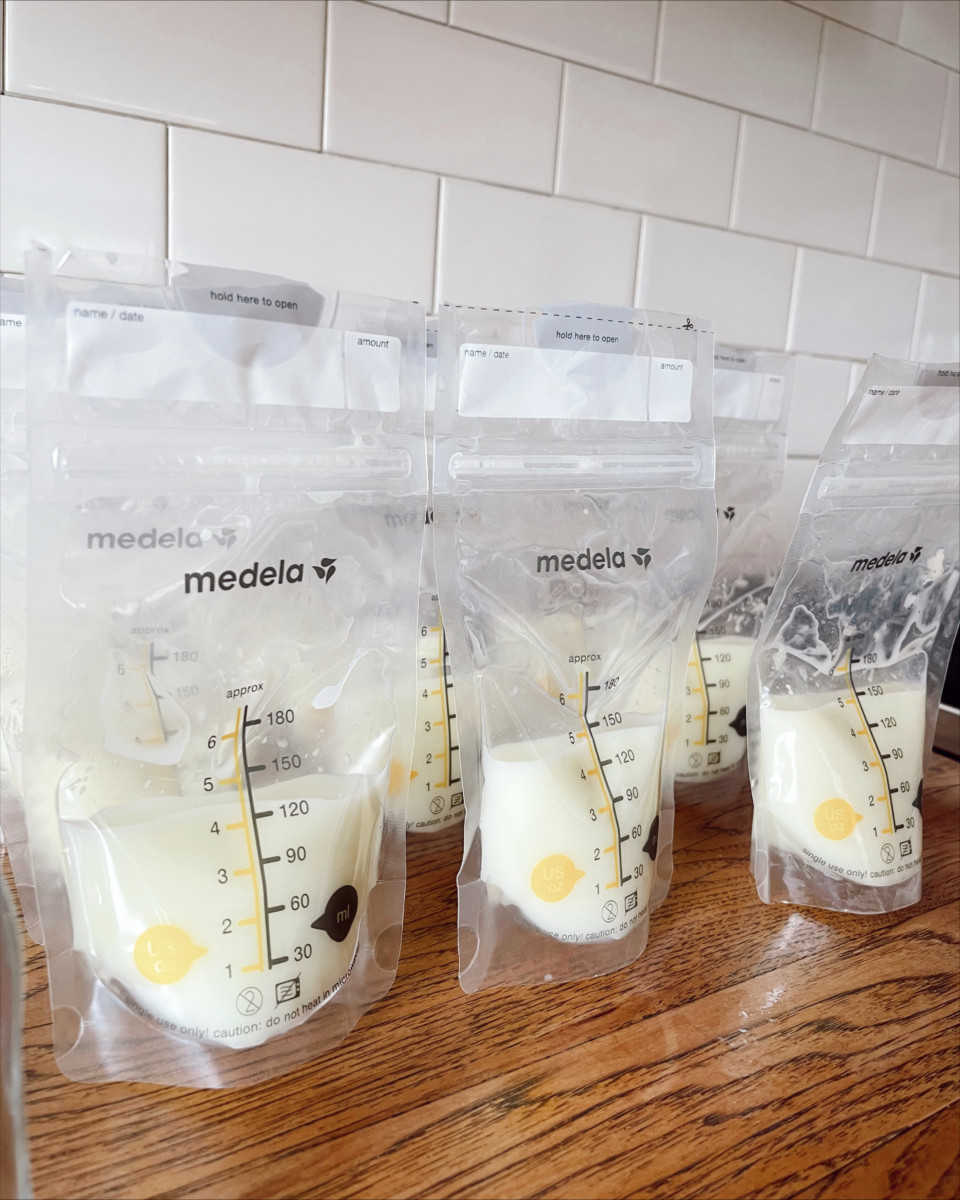
High Lipase Milk: Cause, Effects, And Tips To Manage
Everyone has lipase in their milk, it’s an enzyme that helps a baby break down and digest milk! With high lipase, freshly expressed milk tastes normal, it’s only when the milk has been sitting or stored or thawed that the enzyme impacts the smell and taste and so when I breastfeed her, it’s totally normal, but when it comes to pumping and milk storage, it’s a bit more complex. We discovered the high lipase after Quinn refused a bottle for months.
We had tried everything, tried multiple bottles, and took her to a pediatric dentist to check for a tongue and lip tie, we did every trick we could think of and she continued to refuse the bottle. Finally, one day Drew noticed that it looked like her face was one of disgust when we gave her the milk and we smelled the milk and discovered the metallic smell. Here’s a helpful article about high lipase if you’re thinking you may have it.
After a few trial and error attempts, we realized that she had no issue with the bottle, the issue was with the milk itself. I wanted to cry because I had already pumped hundreds of ounces and thinking that the milk might go to waste or not be used as intended felt devastating, but at least we had an answer. We learned that if you scald the breast milk after it’s freshly pumped, the lipase isn’t activated it protects the integrity of the milk so the taste and smell aren’t impacted. Regardless, it’s been a learning journey and while it’s a bit more complicated, it’s still been worth it. If your baby is refusing a bottle, you might want to set up a taste test to see if your fresh milk tastes different than your frozen!
The good news here is that all of the past milk didn’t go to waste, we were able to mix fresh with older milk and Quinn would take it! We also put in a drop or two of alcohol-free vanilla sweetener (baby latte, anyone?) and that also helped cut the taste so that she would drink it and it wouldn’t go to waste. Now, she can drink my old milk, no problem, but it was helpful to find a ratio that worked as she got used to drinking from a bottle!
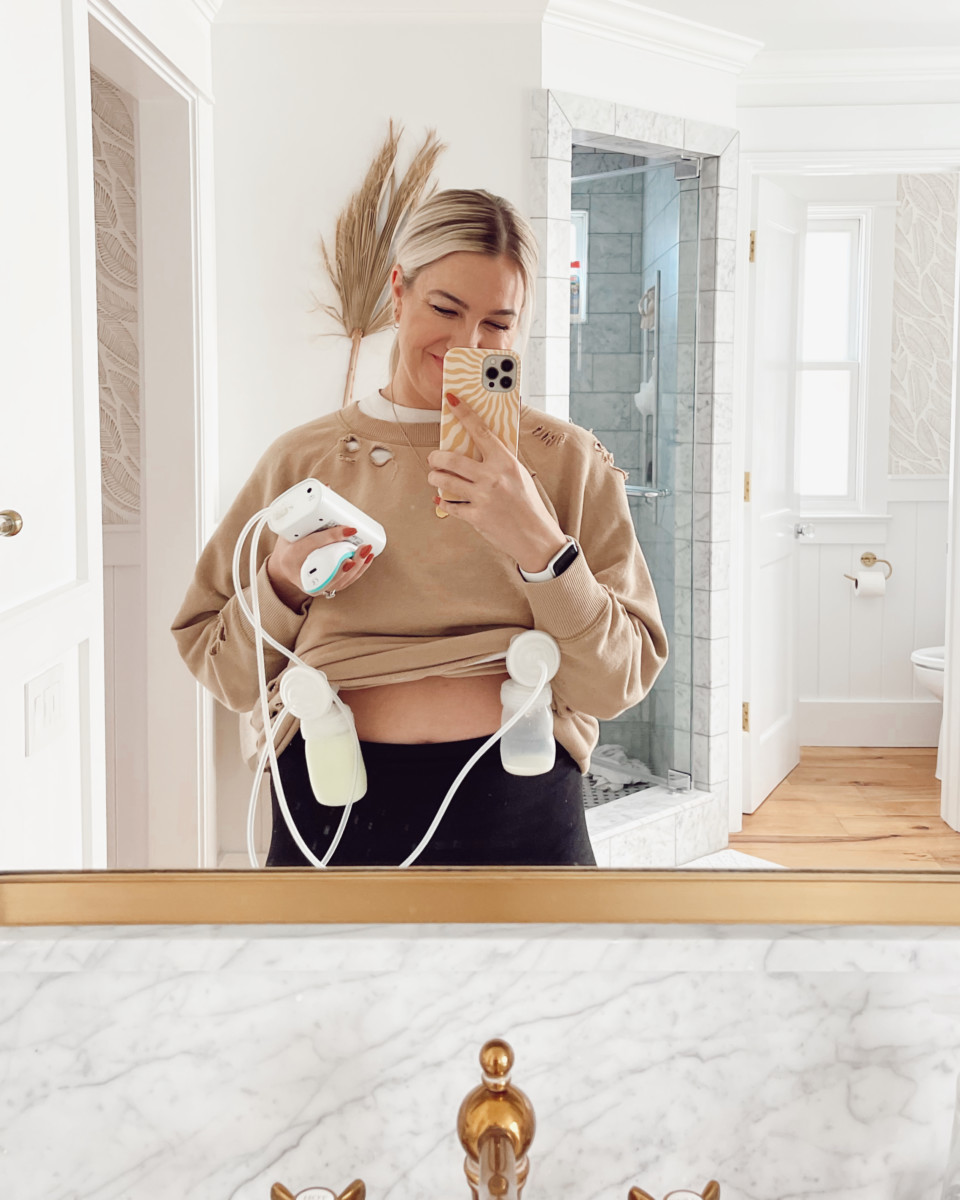
My Must-Have Pumping Travel Items
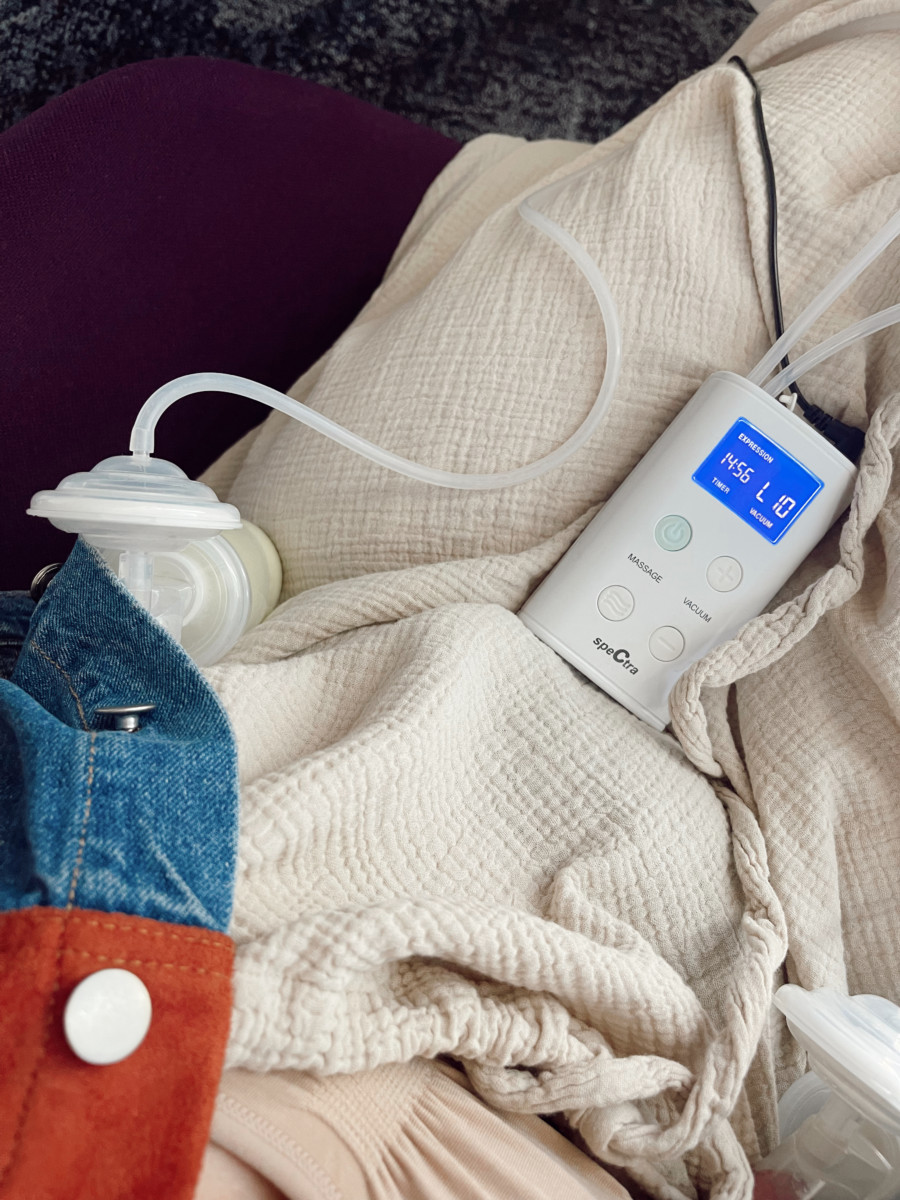
- This breast pump: I have tried multiple pumps and this one is by far the best! It’s hospital grade and makes pumping easy! It’s also small enough to fit in a belt bag so you can be untethered and hands-free.
- This pumping bra: Again, I’ve tried a handful of different pumping bras and this one is most comfortable and it’s great for being on the go! I also love that these bras can be used as nursing bras for when you’re with baby!
- This nursing cover: This was an item I didn’t have with my firstborn but got with Quinn and I use it almost daily. It’s amazing as a nursing cover but also works great for pumping. I love that it’s breathable and cute (you can wear it as a poncho!) and easy to pack.
- These lactation massagers: Again, something I got this time around and I am so glad I did. They help your milk let down faster, feel amazing, and help you avoid clots or clogged ducts. They are so helpful when on the go and decrease pumping time.
- This bottle brush and drying rack: Easy to bring along, helps clean all your pump parts while on the road and doesn’t take up much space. The drying rack definitely comes in handy for hotels!
- This bottle sanitizing bag: Read my easy tip for cleaning and sanitizing while at a hotel or traveling! Microwaves to the rescue!
- These ice packs: I get two small-sized and two big ones to bring along (I’ll walk you through my process!)
- These breast milk bags: We’ve used these since Coco, I love that they store flat! But use any bag that you typically store milk in and make sure you bring enough!
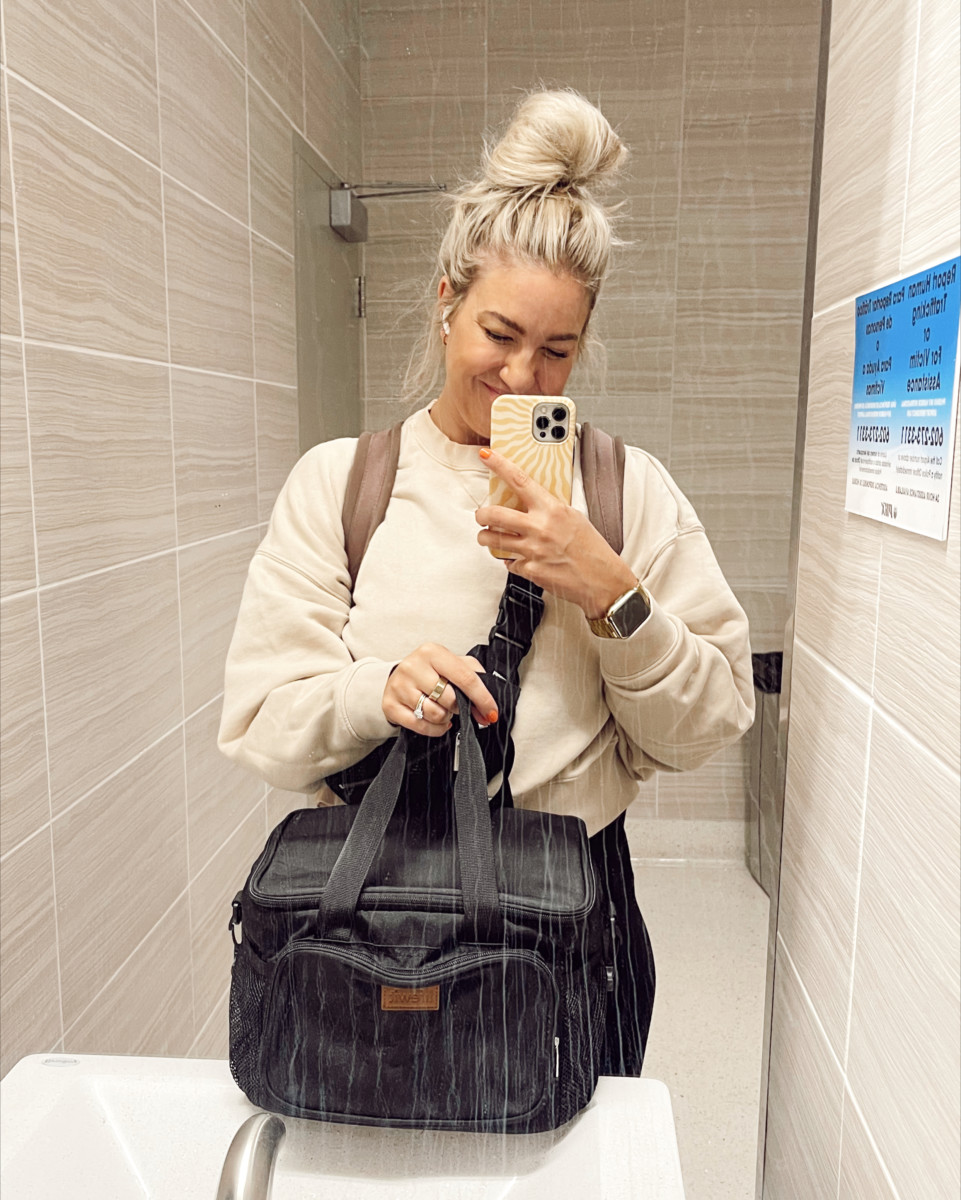
- This cooler bag: I’ve tried a few different methods here but this cooler bag has been the easiest and best way to travel with milk! You can also use it as a cooler bag on your trip!
TSA Checking Process with Breast Milk
After we determined the high lipase problem, I was more determined to figure out how to pump and bring home any milk since we needed as much fresh milk as possible. I’ve definitely learned a few tricks in the process and have refined how I travel with milk!
First things first, if you plan on pumping while you’re flying to your destination and you want to save that milk, make sure you bring frozen ice packs with you. It is much easier getting through TSA with the ice packs frozen (I’ve gotten through with them not frozen, but it took some explaining, so just freeze before you leave, which works well if you’re saving the milk you pump while en route!) TSA regulations state that you can bring any amount of breast milk and that ice packs need not be frozen, but agents have told me multiple times that it’s easier if they are frozen solid. This cooler bag:
If they are frozen solid, it usually doesn’t flag TSA. I also have a small, separate shoulder bag that just has my pump, milk bags, ice packs, nursing cover and anything else I need for pumping. Medical devices do not count with your “one bag, one personal item” requirements, so having it separate allows you to carry more on the plane and helps keep things separate.
I usually bring 4 ice packs along, 2 small and 2 large. The check the large ones (not frozen) in my checked luggage and then bring the small ones (frozen) in my pump bag. The small ones are nice because if you pump, you can just sandwich the milk between the two packs and keep it cold.
Storing Breast Milk While Away
Once I get to the hotel or destination, I’ll let the front desk know that I am pumping milk and will need a place to store it. About 95% of the time, if the room doesn’t have a fridge that is cold enough, they will wheel up a fridge/freezer to my room for me. Hotels have extra fridges for this purpose and if they don’t, they will have somewhere they can store it for you if you bring it to them. I love having the fridge in my room for ease. Take note that sometimes the beverage fridges in rooms are not cold enough to safely store milk, so just notice what temp it is set at and make sure it’s not a fridge that shuts off and turns back on, you want to keep the milk at a safe temp.
Since I have the high lipase issue and have to scald the milk when I get home, I can’t freeze my milk, but if I didn’t have this issue, I would 100% just freeze it after it’s pumped and freeze all of my milk before the flight home — this makes many aspects of traveling with milk much easier!
Bottle and Pump Cleaning Hacks
Cleaning your pump parts can feel tricky when you’re away. You don’t have the items you likely have at home to wash and dry! Worry not, it’s not always easy but it is possible. I always travel with a small bottle brush and drying rack and then try to bring a travel-sized dish soap along, that way I can clean while on the go. A lot of hotels have travel soap if you need them, just ask! I usually just set up a little bottle cleaning station next to the bathroom sink with a hand towel and then I’ll wash and leave out the pump parts to dry!
Another tip that works well is if you buy one of the microwaveable sanitizing bags, you can put your pump parts into the bag, pop it in the microwave to sanitize! When I am on the go, I usually store the empty pump bottles with paper towel in them so they don’t drip water or milk into my bag between feeds.
Transporting Breast Milk Home
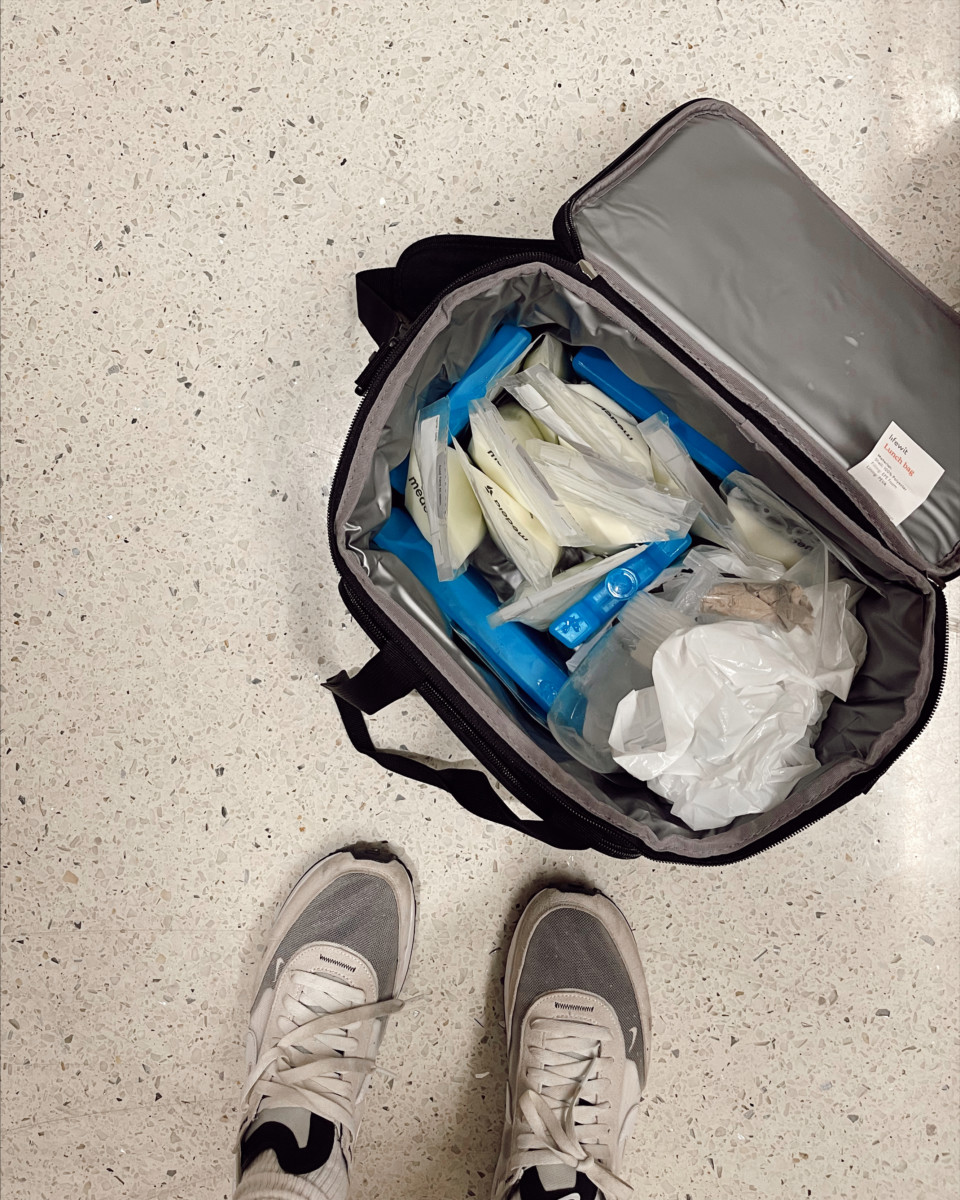
Now that you’ve stored up your, I’ve tried a few different methods here and feel like I’ve found the best and safest one! Full disclosure, twice while traveling I’ve had to Instacart a cooler to get my milk home. The first time, the shopper couldn’t find a cooler bag (lunch box style!) so they grabbed one of the hard shell Igloo coolers which looked hilarious but worked well, it was just really clunky to travel with. The second time, I was able to order a $30 bag on Amazon and that’s definitely now my preferred method of travel. If you can, check a soft cooler bag in with your luggage on the way out there since you likely won’t need it until your return flight.
The night before you fly out, make sure you get your ice packs (and your milk, if you don’t have high lipase!) frozen as solid as possible. Then before you head to the airport, pack your cooler bag with the milk and the ice packs. I love the bag I got, because it was big enough to use both for my milk and my pump so my hands weren’t too full on the way home. I just used a plastic bag to keep my pump and pump parts separate from the frozen items.
If everything is frozen solid, TSA shouldn’t be an issue. If you’re like me and the milk needs to stay liquid, it takes a bit more time to get through TSA, so plan accordingly and don’t panic. They will have to inspect the milk and likely run a few test strips over the milk bags. Regardless, you should be able to get through relatively easily. One pro tip is based on the amount of milk you’ll be bringing home, having a smaller container that can sit in the cooler to keep the proximity to the ice packs can be helpful. One time I used a shoebox just to keep things closer and cooler! I have checked my milk before (in the bigger clunky cooler) and have carried it on the plane, I would opt to carry it on just so you can keep it close and ensure it’s staying within temp. If you notice anything getting warm, you can always ask the flight attendants or a restaurant at the airport for ice you can add to your bag.
Once Safely Home With Breast Milk in Tow
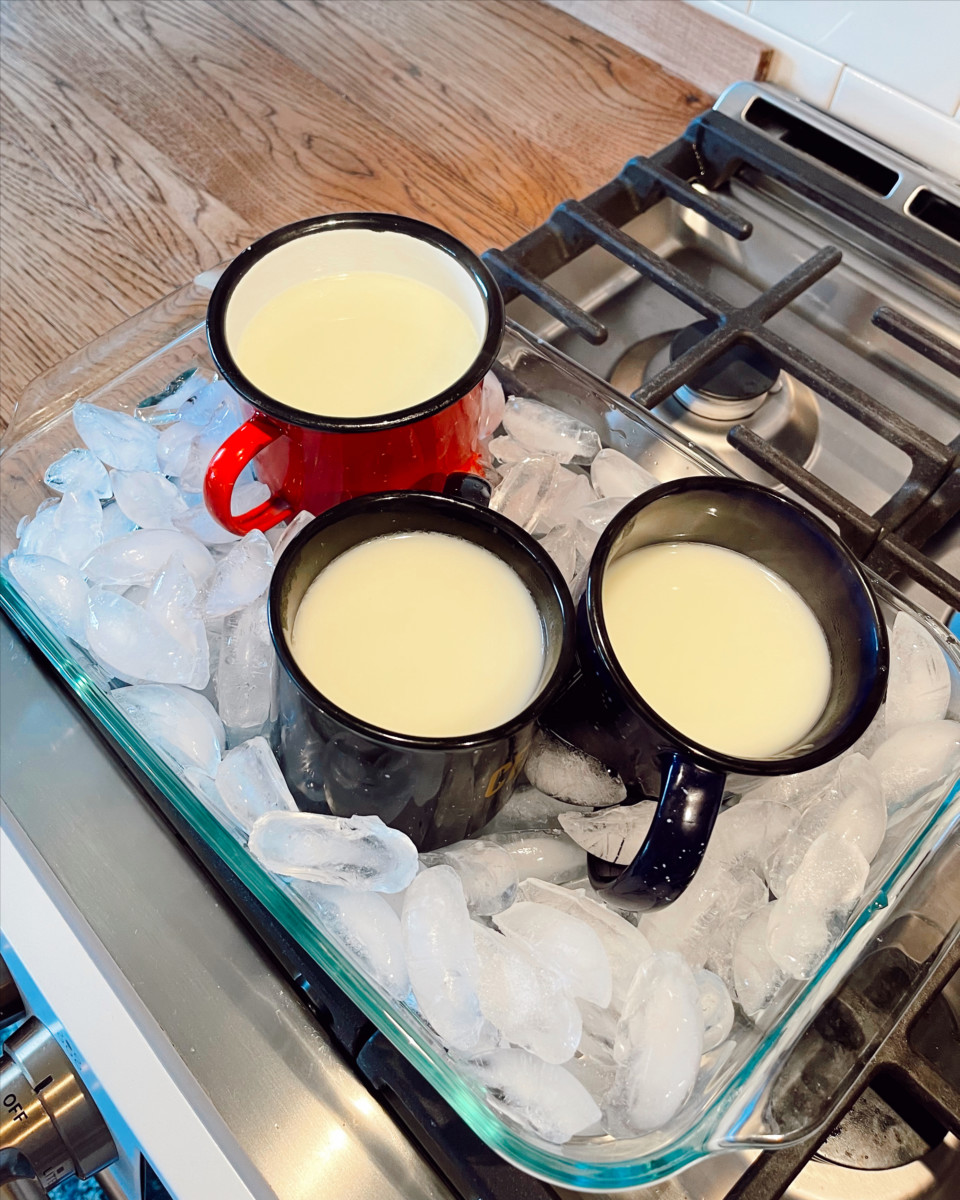
If I didn’t have the high lipase, this post would be over! Transfer milk to your freezer when you get home and voila! You did it! But for any other high-lipase mama’s out there, when I get home, I immediately scald the milk (put into a pan and bring it almost to a boil, you want milk bubbles around the edges!) then cool using an ice bath. I’ll use a cake pan and fill it with ice and then put mugs in it and pour my milk into the mugs to cool the milk. Once cooled, then you can put into freezer bags and store it. It’s definitely an added step but it helps your milk taste fresh and eliminates the lipase! I found this Instagram Reel that explains the process of scalding (and we refer to it often!)
I hope this post helps outline how you can safely travel with breast milk! One final option I’d love to highlight is a service called Milk Stork! If you are traveling for work, check and see if your employer will pay for a service like this. We used this once when we were in Arizona for a few months and had a pretty big stock to get home. It’s a great (but pricey) option! Pumping and breastfeeding are not for the faint of heart! I commend whatever option you choose to feed your little one and just know that when there’s a will, there’s a way when it comes to breast milk and travel!
Need more travel tips?
- How to Travel Internationally with a Baby
- The Complete Guide to Traveling with a Baby
- 6 Secrets for Easier Road Trips with Baby
Save 10% on my all-time FAVE all-natural skincare


